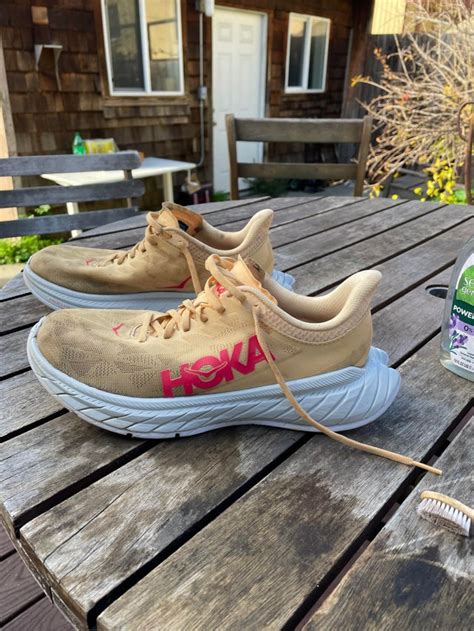
Why Cleaning Your Hoka Shoes is Important
Cleaning your Hoka shoes regularly is essential to maintain their performance, longevity, and appearance. Just like any other athletic shoes, Hoka shoes accumulate dirt, sweat, and odor over time. If not cleaned properly, these contaminants can hamper the shoe's breathability, affect the cushioning, and even lead to the growth of bacteria and fungi. By following a simple cleaning routine, you can keep your Hoka shoes in top condition and enhance their overall lifespan.
Gathering the Supplies
Before you begin cleaning your Hoka shoes, it's crucial to gather the necessary supplies. Here are the items you'll need:

- Mild detergent or shoe cleaner
- Soft bristle brush or toothbrush
- Microfiber cloth or sponge
- Water
- Optional: deodorizing insoles or baking soda
Make sure you have all these supplies ready before you proceed to clean your Hoka shoes.
Step 1: Removing Excess Dirt
Start by removing any excess dirt or debris from the outer surface of your Hoka shoes. Use a dry brush or a soft cloth to gently brush away the dirt. Alternatively, you can tap the shoe soles together to loosen and remove loose dirt. This step ensures that you don't spread dirt all over the shoes during the cleaning process.
Step 2: Hand Washing the Shoes
Next, prepare a mild cleaning solution by mixing a small amount of detergent or shoe cleaner with water. Using a soft bristle brush or toothbrush, dip it into the solution and gently scrub the shoe's upper, midsole, and outsole. Pay particular attention to any stained or soiled areas. Be careful not to scrub too hard as it may damage the shoe's materials.
Step 3: Rinsing the Shoes
After scrubbing, rinse the shoes thoroughly with clean water to remove any remaining soap or cleaner residue. Ensure that all the detergent or cleaner is washed away to prevent potential skin irritations when wearing the shoes next time. You can use either a water hose or pour water directly from a jug or faucet over the shoes.
Step 4: Drying Your Hoka Shoes
Once the shoes are rinsed, gently squeeze out excess water and pat them dry with a clean microfiber cloth or sponge. Avoid using any heat sources, such as heaters or direct sunlight, to speed up the drying process, as excessive heat can damage the materials. Instead, place the shoes in a well-ventilated area and allow them to air dry naturally. This may take a few hours or overnight, depending on the shoe and weather conditions.
Step 5: Optional Deodorizing Technique
To remove any unpleasant odors from your Hoka shoes, you can adopt an optional deodorizing technique. Sprinkle some baking soda or place deodorizing insoles inside the shoes to absorb any lingering smells. Let them sit for a few hours or overnight before removing the baking soda or insoles and shaking out any remaining residue.
Conclusion
Regularly cleaning your Hoka shoes is a simple yet essential task to maintain their performance and extend their lifespan. By following the step-by-step tutorial provided, you can effectively remove dirt, sweat, and odor, keeping your Hoka shoes fresh and comfortable for your next run or workout session. Remember, proper care and maintenance will ensure that your beloved Hoka shoes continue to support you in achieving your fitness goals.
No comments:
Post a Comment