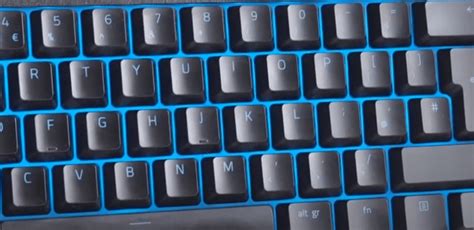
Why Cleaning Your Razer Keyboard is Important

When it comes to keeping your Razer keyboard in top shape, regular cleaning is of utmost importance. Cleaning your keyboard not only helps maintain its performance but also prevents the buildup of dirt, dust, and debris that can affect your typing experience. In this tutorial, we will guide you through the process of cleaning your Razer keyboard to ensure it remains in pristine condition for years to come.
Gather Your Cleaning Tools
Before diving into the cleaning process, it is essential to gather the necessary tools. Here is a list of items you will need:1. Microfiber cloth or cotton swabs2. Isopropyl alcohol or a mild cleaning solution3. Compressed air duster4. Keyboard keycap puller (if applicable)5. Soft brush
Step 1: Turn Off and Disconnect Your Keyboard

Before you begin cleaning, make sure to turn off and disconnect your Razer keyboard from your computer. This step is crucial to prevent any accidental keystrokes or damage while cleaning.
Step 2: Remove the Keycaps

If your Razer keyboard has removable keycaps, gently remove them using a keycap puller. This will allow you to clean both the keycaps and the keyboard surface thoroughly. Place the removed keycaps aside in a safe place.
Step 3: Use Compressed Air to Remove Debris
Using a can of compressed air, blow away any dust, crumbs, or debris that may have settled in-between and underneath the keys. Hold the can upright and use short bursts of air to avoid damaging delicate keyboard components.
Step 4: Clean the Keyboard Surface
Dampen a microfiber cloth or cotton swab with isopropyl alcohol or a mild cleaning solution. Gently wipe the keyboard surface, paying extra attention to areas that accumulate dirt or fingerprints. Avoid using excessive liquid as it can damage the keyboard's electronics. Make sure the cloth or swab is only slightly dampened.
Step 5: Clean the Keycaps

To clean the keycaps, fill a bowl with warm water and add a mild cleaning solution. Place the keycaps in the bowl and let them soak for a few minutes. Use a soft brush or cloth to gently scrub the keycaps, removing any dirt or grime. Rinse them thoroughly with clean water and allow them to dry completely before reattaching them to the keyboard.
Step 6: Reassemble the Keyboard
Once all the components are clean and dry, reattach the keycaps to the keyboard. Ensure that each keycap snaps into place properly. Double-check that all the keycaps are aligned and functional before reconnecting your Razer keyboard to your computer.
Maintaining a Clean Razer Keyboard
To maintain a clean Razer keyboard, consider the following tips:1. Regularly repeat the cleaning process outlined above on a monthly or quarterly basis to prevent dirt buildup.2. Avoid eating or drinking over your keyboard to reduce the likelihood of spills and crumbs.3. If using a laptop with a built-in keyboard, consider applying a keyboard protector to minimize dust and spills.By following these steps and maintaining regular cleaning habits, you can ensure that your Razer keyboard not only looks great but also performs at its best, providing you with an exceptional typing experience every time.In conclusion, cleaning your Razer keyboard is an essential part of its upkeep. The process involves gathering the necessary cleaning tools, disconnecting and removing keycaps, using compressed air to remove debris, cleaning the keyboard surface, and cleaning the keycaps separately. By following the steps outlined in this tutorial and implementing regular cleaning practices, you can prolong the life of your Razer keyboard and maintain its functionality for an extended period.
No comments:
Post a Comment