Preparation
To begin with, installing a Nest Yale Lock requires some tools and preparation. Gather the following items before you start the installation process:- Nest Yale Lock package, which includes the lock itself, strike plate, mounting screws, and batteries- Screwdriver or drill- Tape measure- Pencil- Wi-Fi network and a working internet connection- Smartphone or tablet with the Nest app installed
Step 1: Remove the Existing Deadbolt
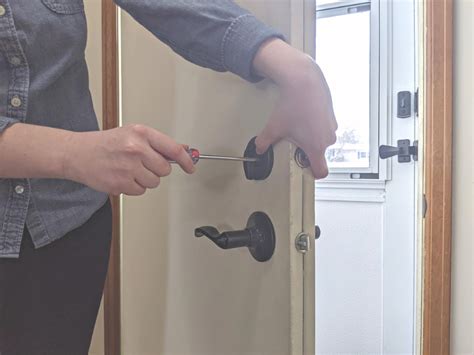
Before installing the Nest Yale Lock, you need to remove the existing deadbolt from your door. Use a screwdriver or a drill to unscrew the screws and carefully take off the deadbolt. Make sure to keep the screws in a safe place, as you may need them later.
Step 2: Prepare the Door and Lock

With the deadbolt removed, it's time to prepare the door and the Nest Yale Lock. First, use a tape measure to determine the backset—usually 2 3/8 inches or 2 ¾ inches—from the edge of the door. Once you have the correct measurement, mark it with a pencil. Next, insert the latch into the door, making sure it aligns with the backset measurement. Secure it in place with the provided screws.
Step 3: Mount the Lock

Now it's time to install the Nest Yale Lock itself. Align the lock with the latch and insert the mounting screws through the holes on the front of the lock. Use the screwdriver or drill to tighten the screws and securely attach the lock to the door. Check that the lock is aligned correctly and operates smoothly.
Step 4: Set Up and Connect to Wi-Fi
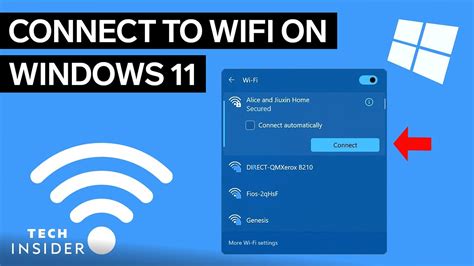
To use the advanced features of the Nest Yale Lock, such as remote access and personalized user codes, you need to connect it to your Wi-Fi network. Open the Nest app on your smartphone or tablet and follow the on-screen instructions to add a new device. Make sure your device is connected to the same Wi-Fi network as the lock, and enter the necessary details to connect the lock to your account.
Step 5: Set Up User Codes and Customize Settings
Once your Nest Yale Lock is connected to Wi-Fi, you can set up user codes and customize various settings. In the Nest app, navigate to the lock's settings and select "Codes." Here, you can create unique codes for different users, enabling them to unlock the door with their personalized code. Additionally, you can adjust other settings such as auto-lock duration, notifications, and usage history.In conclusion, installing a Nest Yale Lock is a straightforward process that can enhance the security and convenience of your home. By following these step-by-step instructions, you can successfully install the lock, set up user codes, and connect it to your Wi-Fi network. Don't forget to explore and customize the lock's settings to best suit your needs. Enjoy the peace of mind that comes with a smart and secure front door lock.
No comments:
Post a Comment