Introduction
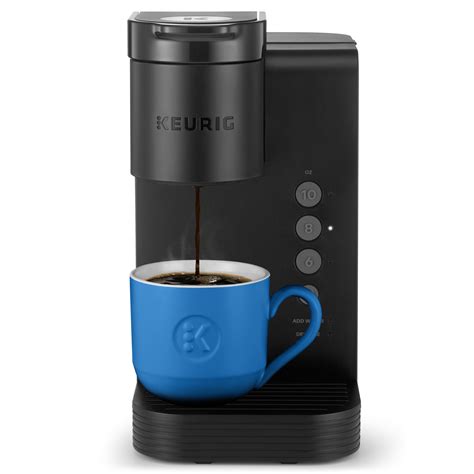
In this tutorial, we will guide you through the process of taking apart a Keurig coffee machine to clean it thoroughly. Cleaning your Keurig regularly is essential to maintain the quality of your coffee and ensure the longevity of the machine. We will break down the process into easy-to-follow steps, ensuring that you have a hassle-free experience. So let's get started!
Gathering the Necessary Supplies
Before we delve into the disassembly process, let's gather the supplies you'll need. Here's a checklist:1. White vinegar2. Warm water3. Soft cloth or sponge4. Dish soap5. A small brush or toothbrush6. Q-tips7. Paperclips8. Optional: Keurig descaling solutionNow that you have everything ready, let's move on to the disassembly process.

Step 1: Unplug and Empty the Machine
Safety first! Begin by unplugging your Keurig from the power source. Remove any remaining coffee pods or capsules from the machine and dispose of them appropriately. Make sure there is no water left in the reservoir before proceeding.
Step 2: Remove the Removable Parts
Start by removing all the removable parts of your Keurig. This includes the water reservoir, the drip tray, and the K-Cup holder. Take them to the sink for a thorough cleaning later.
Step 3: Clean the Water Reservoir
Fill the sink with warm water and add a few drops of dish soap. Place the water reservoir in the sink and use a soft cloth or sponge to clean both the interior and exterior. Rinse it thoroughly with clean water to remove any soap residue.
Step 4: Clean the Drip Tray and K-Cup Holder
Take the drip tray and K-Cup holder to the sink. Use warm, soapy water and a brush or toothbrush to remove any coffee stains or residue. Rinse them well and set them aside to dry.
Step 5: Descaling the Keurig
Descaling helps remove mineral deposits that can build up over time. You can use white vinegar or a Keurig descaling solution for this step. Fill the water reservoir with a mixture of vinegar (or the descaling solution) and water in equal parts. Run a brew cycle without inserting a K-Cup to let the mixture flow through the machine. Repeat this process once more with only clean water to eliminate any vinegar or descaling solution residue.
Step 6: Clean the Needle and K-Cup Holder Assembly
To clean the needle, remove the K-Cup holder assembly by pulling it up and away from the machine. Use a paperclip to gently clean any clogs or debris that may have accumulated in the needle. Be cautious not to damage the needle while doing this. Once cleaned, reassemble the K-Cup holder in its original position.
Step 7: Reassemble and Test
Now that all the parts are cleaned and dry, it's time to put everything back together. Place the cleaned water reservoir back into its position, followed by the drip tray and K-Cup holder. Ensure they are securely placed. Finally, plug the Keurig into the power source, and your machine is ready to brew a fresh cup of coffee!
Conclusion
Regularly cleaning your Keurig not only improves the taste of your coffee but also extends the life of the machine. By following this step-by-step tutorial, you can effectively take apart and clean your Keurig without any difficulty. Remember to assemble the machine correctly before use. Happy brewing!
No comments:
Post a Comment