Setting Up the Anycubic 3D Printer
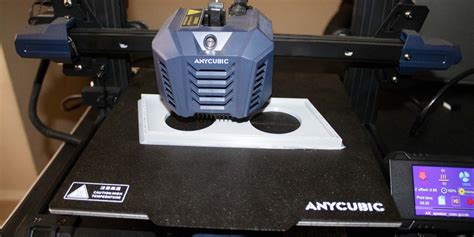
The Anycubic 3D printer is a versatile and user-friendly device that allows you to bring your digital designs to life. Whether you are a beginner or an experienced user, this tutorial will guide you through the process of setting up and using the Anycubic 3D printer effectively.To begin, carefully unpack the Anycubic 3D printer and ensure that all the required components are included. These components typically consist of the printer itself, the power supply, the filament spool holder, the filament, the build platform, and the necessary cables.Once you have verified all the components, proceed to find a suitable location for your 3D printer. It is essential to have a stable and clean surface to place the printer on. Additionally, ensure that there is sufficient space around the printer for the printing process and filament spool movement.Next, connect the power supply to the printer and plug it into a reliable power outlet. Power on the device by pressing the power button, usually located on the front or side of the printer. As the printer boots up, you should see the display screen come to life, indicating that the printer is ready for use.
Calibrating the Anycubic 3D Printer
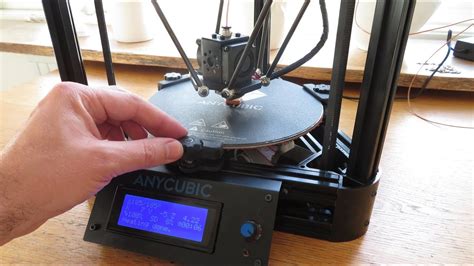
Before you start printing, it is crucial to calibrate the Anycubic 3D printer to ensure optimal printing results. Begin by leveling the build platform. Most 3D printers, including the Anycubic, have a manual leveling process. This involves tweaking the different corners of the platform to achieve a balanced and even surface.To level the build platform, navigate to the printer's menu and locate the "Level Bed" option. Follow the on-screen instructions to make the necessary adjustments. It is essential to repeat this process regularly to maintain consistent printing quality.Once the build platform is properly leveled, the next step is to calibrate the printer's extruder. This process ensures that the filament is properly fed into the printer for accurate printing. First, heat the printer's extruder to the recommended temperature for your filament type. Then, insert the filament into the extruder and wait for it to smoothly flow out of the nozzle. Adjust the tension of the filament feeder if necessary.
Preparing and Loading the Filament
With the Anycubic 3D printer calibrated, it's time to prepare and load the filament for printing. Start by selecting the appropriate filament type for your project. Ensure that the filament matches the printer's specifications and is compatible with the chosen printing settings.Next, locate the filament spool holder and mount it onto the printer. Attach the filament spool to the holder, making sure that it rotates freely without any obstructions. Feed the filament through the filament guide tube and into the printer's extruder.On the printer's menu, navigate to the filament loading options and select the desired filament type. Follow the on-screen prompts to start the filament loading process. The printer will heat up the extruder to the appropriate temperature and then automatically feed the filament through.
Printing with the Anycubic 3D Printer
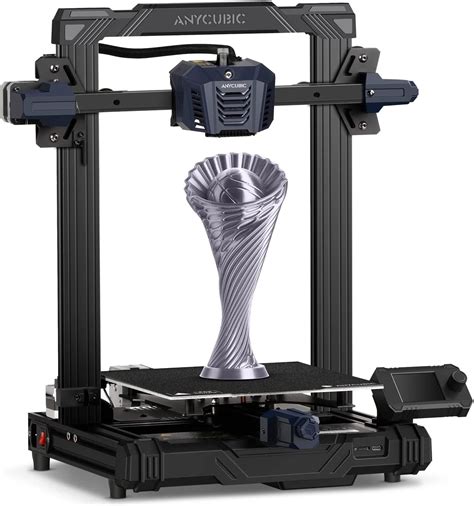
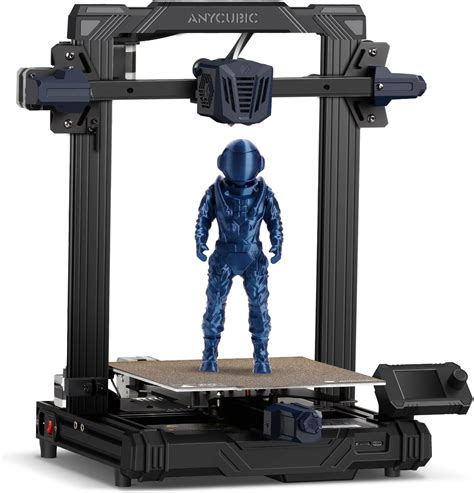
Now that the Anycubic 3D printer is set up, calibrated, and the filament is loaded, it's time to start printing. There are various ways to print with the Anycubic 3D printer, depending on your workflow and design files.One common method is to use slicing software, such as Cura or Simplify3D, to prepare your 3D models for printing. These software applications allow you to customize settings such as layer height, print speed, and support structures. Import your 3D model into the software, adjust the necessary settings, and generate the G-code file.Transfer the G-code file to an SD card or connect the printer to your computer via USB, depending on the printer's capabilities. Navigate to the file menu on the printer's display screen and select the G-code file you wish to print. Follow the on-screen instructions to start the printing process.During the printing process, it is essential to monitor the printer closely, especially during the initial layers. Occasionally check that the print adheres properly to the build platform and that there are no issues with the filament flow. If any anomalies arise, pause the print and address the problem before proceeding.
Troubleshooting and Maintenance of the Anycubic 3D Printer
As with any device, the Anycubic 3D printer may encounter occasional issues or require routine maintenance. Troubleshooting and maintenance play a vital role in ensuring the printer's long-term performance and print quality.Common issues that may arise include filament jams, leveling inconsistencies, or software-related problems. The Anycubic website and user manual provide detailed guides on addressing these issues. Additionally, online communities and forums dedicated to 3D printing can be excellent resources for troubleshooting.Regular maintenance involves cleaning the print bed, lubricating moving parts, and periodically checking for loose screws or belts. Remember to power off the printer and unplug it before performing any maintenance activities. Following the manufacturer's guidelines for maintenance intervals is crucial to keep your Anycubic 3D printer in optimal condition.In conclusion, the Anycubic 3D printer offers an accessible and intuitive solution for bringing your digital designs to life. By following this tutorial and familiarizing yourself with the printer's features and settings, you can unleash your creativity and enjoy the world of 3D printing. Remember to always adhere to safety guidelines and experiment with different materials and designs to maximize the potential of your Anycubic 3D printer.
No comments:
Post a Comment